How to Make a Mind Map for Studying (Step by Step)
A mind map puts a topic on one page: the main idea in the middle, the big subtopics around it, and the details branching off those. For studying, that shape is useful because it shows how facts connect instead of listing them one after another, and because making the map forces you to decide what the main points actually are.
This guide walks through making a study mind map from a textbook chapter or lecture, the mistakes that make maps less useful, how to use a finished map for revision, and an honest comparison of paper and apps.
Step 1: Pick the right scope
One map should cover one chapter, one lecture or one clearly bounded topic, such as The causes of World War I or Cell respiration. A map for a whole course becomes a crowded web you cannot read. If a branch grows so large that it dominates the page, give it its own map later.
Step 2: Put the topic in the center
Write the topic in a few words in the middle. Keep it short; it is a label, not a summary. If your course gives a learning objective or exam question for the chapter, that can make a good center too, because everything you add should help answer it.
Step 3: Add the main branches from the structure
Skim the chapter first, without taking notes, and look at the headings, the summary and any key-terms box. These usually give you the main branches, typically three to seven of them. For a biology chapter on cell respiration, the branches might be Glycolysis, Krebs cycle, Electron transport chain, Inputs and outputs, and Where it happens.
Adding the main branches before any detail matters. It gives the map its shape and shows you the structure of the topic before you get lost in facts.
Step 4: Fill in details as keywords
Now read properly and add details to the right branch. Use keywords or short phrases, not sentences: ATP yield, in mitochondria, needs oxygen. Writing a keyword instead of copying a sentence forces you to process what you read, which is a large part of why mind mapping helps memory.
- Definitions go one level below the term they define.
- Examples go below the idea they illustrate.
- Numbers, dates and formulas get their own short node so they stand out.
- Questions you cannot answer yet can go on the map too, in a different color, to follow up in class.
Step 5: Use color with a purpose
Color is not decoration; it is a second layer of meaning. Common uses: one color per main branch so you can recall the region of the page, a highlight color for things your teacher stressed, and another for things you keep getting wrong. When an idea connects two branches, such as oxygen appearing in both the inputs and the electron transport chain, note the connection; spotting links like that is a sign you understand the topic rather than just remembering it.
Step 6: Revise with it, not just from it
Reading a finished map over and over feels productive but is a weak way to revise. Use it actively instead:
- Look at the map for a few minutes, then put it away.
- On a blank page or a new map, redraw as much as you can from memory.
- Compare the two. Whatever is missing is what you need to study next.
- Repeat a few days later, and again before the exam.
This uses retrieval practice, recalling information rather than re-reading it, which learning research has consistently found to be more effective for long-term memory.
Common mistakes
- Writing full sentences on nodes. The map becomes a list in disguise.
- Starting with details. Without the main branches first, related facts end up scattered.
- Too much on one map. Split big branches into their own maps.
- Making the map and never using it again. The redraw-from-memory step is where most of the benefit comes from.
Paper or an app?
Paper is quick, needs no device, and drawing by hand can help some people remember. Its problem is space: once a branch fills up, there is nowhere to put new details, and a map that has to be redrawn tidily is a map that often never gets finished. Apps remove that limit. Branches can grow as large as needed, colors can change later, and you can keep a separate map for every chapter on your phone for revision on the go. The trade-off is that typing is slower to start than a pen, and some apps take time to learn. A simple app that lays out the branches for you keeps the focus on content.
Making a study map in MindMap
MindMap arranges branches automatically in a circle around the center, so you only type:
- Tap the central node, choose Edit and type the chapter or topic.
- Tap the center and add a node for each main branch from the chapter headings.
- Tap a branch and add nodes for keywords, definitions and examples. Each level gets its own color from the theme.
- Tap any node to edit it, change its color to mark what your teacher stressed, or delete it.
- Drag to pan and pinch to zoom around a large map.
- Tap save and give the map the chapter name. Open the list of saved maps to switch between chapters. For a redraw-from-memory test, start a new map with the reset button after saving.
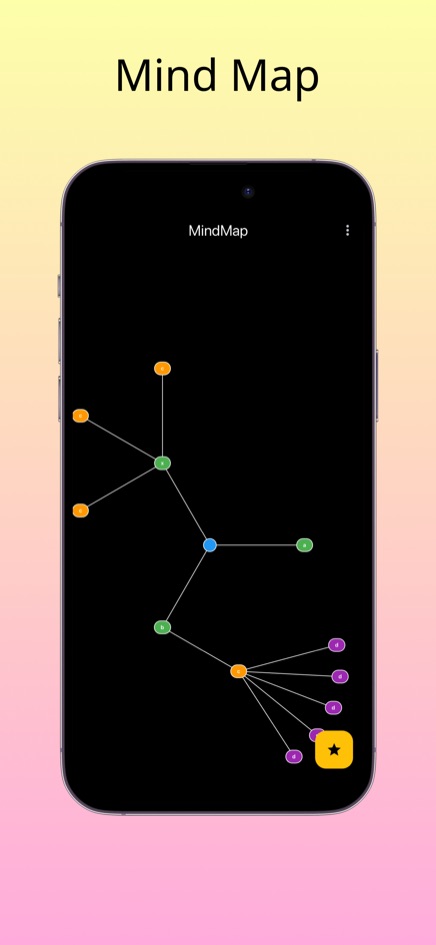
MindMap is free in the browser with no sign-up, and available for iPhone and Android. Nodes are placed automatically and cannot be dragged, and the web version does not export maps; take a screenshot if you want an image.
Frequently asked questions
Are mind maps better than linear notes?
Not always. They are good for seeing structure and connections and for active revision. For step-by-step procedures or long derivations, linear notes are often clearer. Many students use both.
How many main branches should a study map have?
Usually three to seven. Fewer suggests the topic is small enough for a list; more suggests it should be split into two maps.
Should I make one map per chapter or per course?
Per chapter or lecture. You can make a short overview map for the course whose branches are the chapter names.
Where are maps saved in MindMap?
The web version keeps maps only in your browser on your device, with no account. The phone apps keep them on your phone.